
Branching the Story
Choices are essential in adventure games.
The thrill of the game comes from the story branching based on the player's decisions.
TyranoScript fully supports branching, and not only simple branches but also complex conditional branching.
Now, let's take a look at a basic branching script.
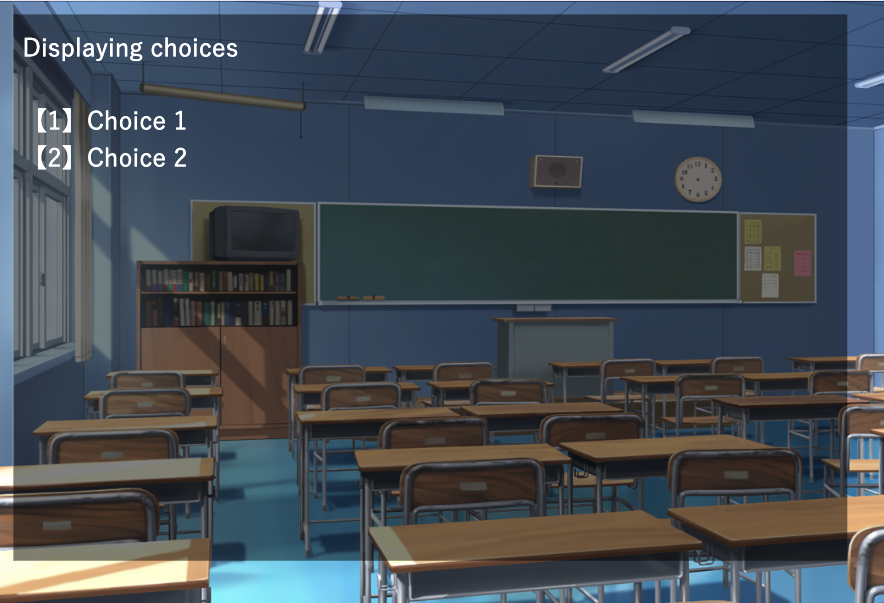
Displaying choices[l][r][r]

[link target=*select1]【1】Choice 1[endlink][r]
[link target=*select2]【2】Choice 2[endlink][r]
[s]

*select1

[cm]

"Choice 1" was clicked[l]
@jump target=*common

*select2

[cm]

"Choice 2" was clicked[l]

@jump target=*common

*common
[cm]
This is the common route
Save and run the script.
As you can see, the displayed text changes based on the choice selected.
Now, let's examine the details.
Any section starting with an * (asterisk) is called a label.
Labels act as markers within the game.
They allow the game to jump to specific locations based on choices or events.
In this example, we have three labels: *select1, *select2, *common.
Note: You cannot use the same label name more than once in a single scenario file.
[link target=*select1]【1】Choice 1[endlink][r]
[link target=*select2]【2】Choice 2[endlink][r]
[s]
A choice is defined between the [link] and [endlink] tags.
The target attribute specifies the label to jump to (the * symbol is required).
The [s] tag is crucial.
This tag completely stops the game from progressing until a choice is clicked.
It ensures that the game will not continue unless the player makes a selection.
*select1
[cm]
"Choice 1" was clicked[l]
@jump target=*common
When "Choice 1" is clicked, the game jumps to the label *select1.
Then, the game continues, and at the end of the branch, the [jump] tag is used to return to the common route.
(@jump target=*common and [jump target=*common] work the same way.)
If you do not return to the common route, the script will continue into the *select2 branch, which may not be the intended behavior.
How was that? Pretty easy, right?
Splitting the Scenario File for Branching
As the story grows longer, keeping everything in a single scenario file can make it harder to manage.
Let's learn how to split the scenario into multiple files.
We will modify the previous script so that when a choice is clicked, the game jumps to a different script file and then returns.
First, create two new scenario files inside the scenario folder:
- scene1.ks
- scene2.ks
Now, edit the files as follows:
scene1.ks
*select1

[cm]
"Choice 1" was clicked[l]
@jump storage=first.ks target=*common
scene2.ks
*select2

[cm]
"Choice 2" was clicked[l]
@jump storage=first.ks target=*common
first.ks
[link storage=scene1.ks target=*select1]【1】Choice 1[endlink][r]
[link storage=scene2.ks target=*select2]【2】Choice 2[endlink][r]
[s]

*common
[cm]
Returned from a different file.
Now, run the script.
When a choice is selected, the game will jump to a different file, and then return to first.ks displaying the message "Returned from a different file."
Using Image Buttons for Choices
Now, let's display choices as images.
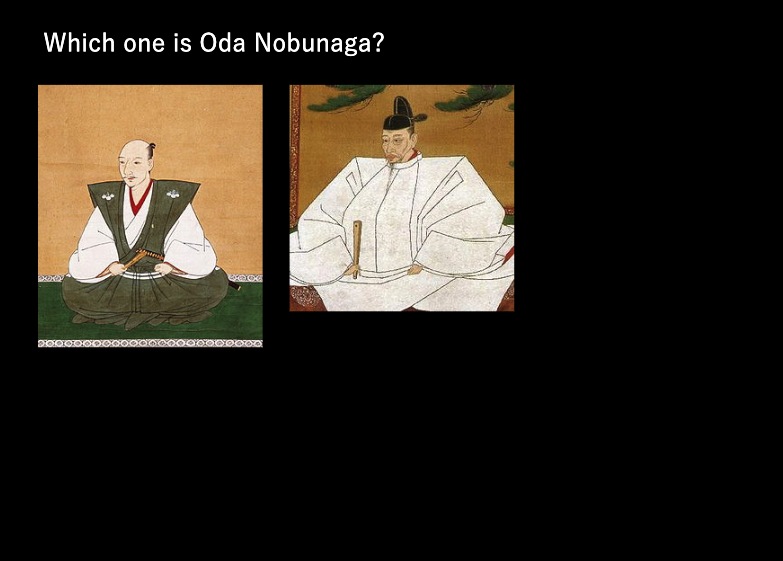
Below are the two images that will be used for selection.
oda.png and toyo.png

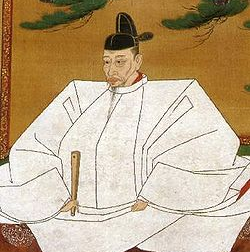
Place these image files inside the image folder in your project.
Which one is Oda Nobunaga?


[locate x=20 y=100]
[button graphic="oda.png" target=*oda]

[locate x=300 y=100]
[button graphic="toyo.png" target=*toyo]

[s]

*oda
[cm]
Correct![l]
@jump target=*common

*toyo
[cm]
Wrong![l]
@jump target=*common

*common
[cm]
Common route[l]
Save and run the script.
Clicking the correct image will display "Correct!"
Support Sites
Contact Us
Email: shikemokumk@gmail.com
2016 © STRIKEWORKS All Rights Reserved.