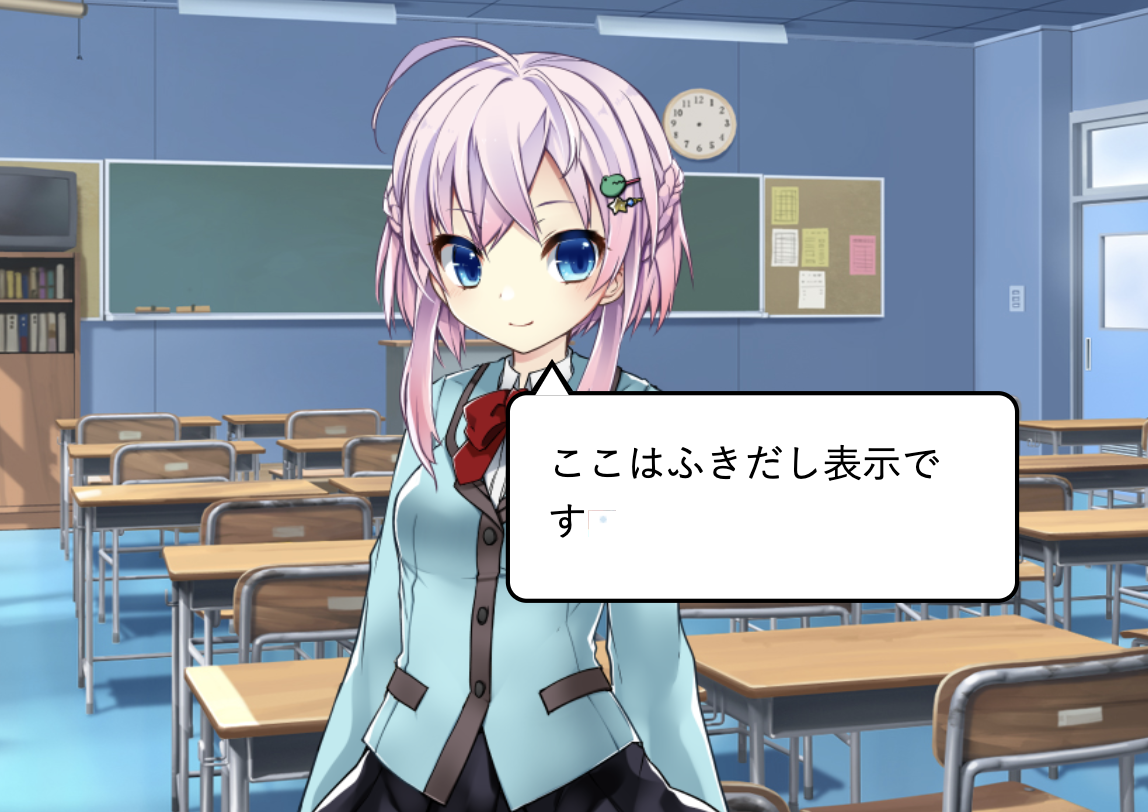
Create Conversation Scenes with Comic-style Speech Bubbles
From TyranoBuilder V510, you can easily create conversation scenes with comic-style speech bubbles.
A working demo is available, so please check it first.
Open the Speech Bubble Feature Demo
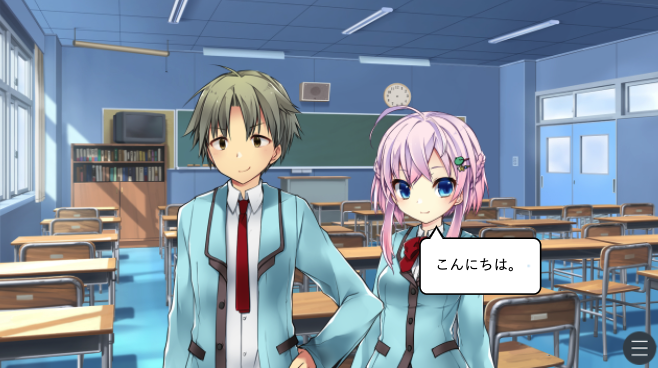
The key feature is that it links with character data and automatically calculates and positions the speech bubbles accordingly. This allows developers to focus entirely on writing the scenario.
Of course, detailed customization is also possible when needed.
Let’s go ahead and try creating one.
In this example, we will turn the default project into a speech bubble format.
Switching to Speech Bubble Format
Let’s start by switching to the speech bubble format.
The design of the message area for speech bubbles is done with the [position] tag.
Add the following script where the message layer settings are located:
Registering Speech Bubbles for Characters
Next, let’s register speech bubbles for the characters.
This is a process for setting the bubble position and design for each character image.
You must do this in advance, or the bubbles won’t appear.
Let’s go ahead and register them.
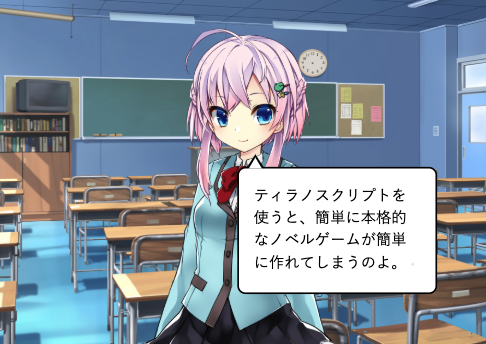
After saving and running, a bubble appears when Akane speaks.
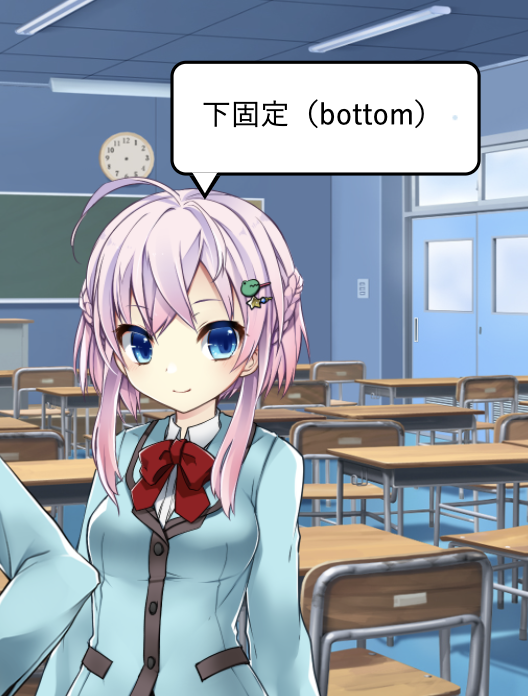
The bubble position is defined using the left and top parameters.
This means specifying where the bubble should appear relative to the left edge of the character image.
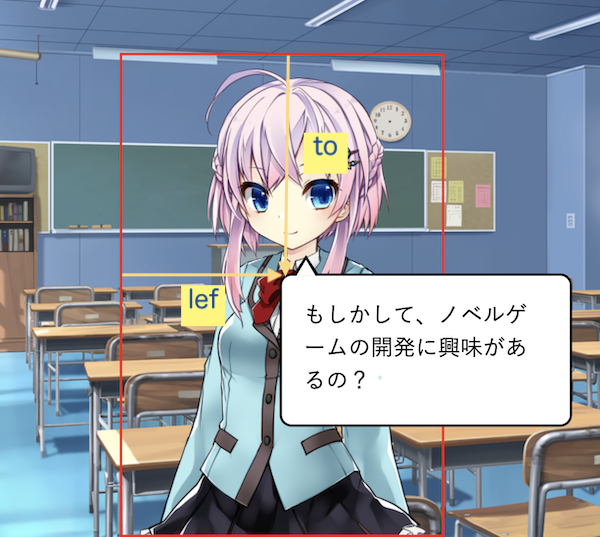
Each character has different image sizes and mouth positions, and you can register those differences individually using [fuki_chara].
Which character is speaking is determined using the same method as before, via #akane.
Even if the character is resized, the bubble position will maintain the correct ratio.
Be sure to specify the left and top based on the original image size.
Setting When the Character is Not on Screen
In the earlier character registration, there was a setting like this:
This applies to cases where the character is not present on screen or when displaying narration.
You set it by specifying "others" in the name parameter.
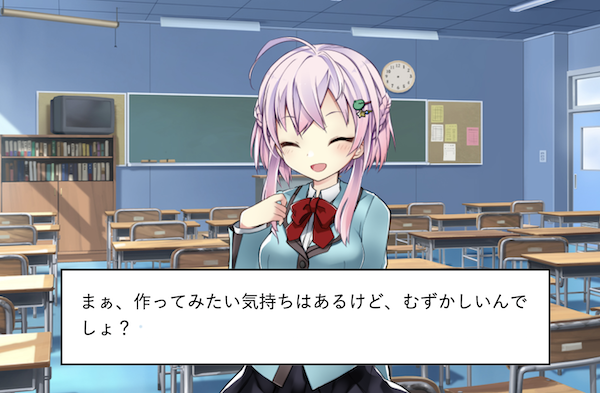
Here we fixed the bubble width with fix_width=700 and removed rounded corners with radius=0.
Customizing Speech Bubbles
You can customize bubble position and design per character.
For details, see the Tag Reference.
Here are some sample variations:
Change tail position using sippo parameter
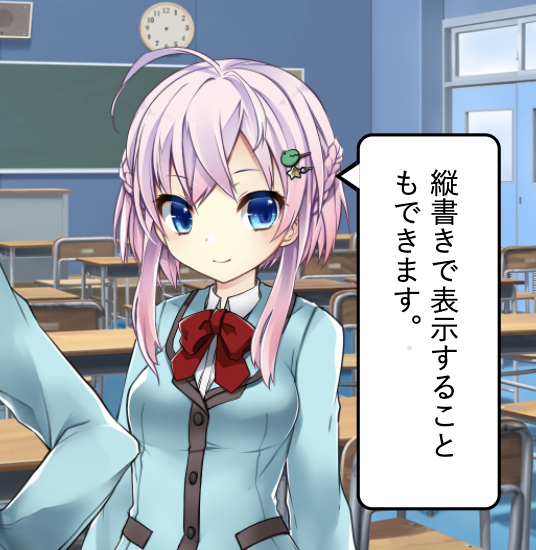
Vertical text display
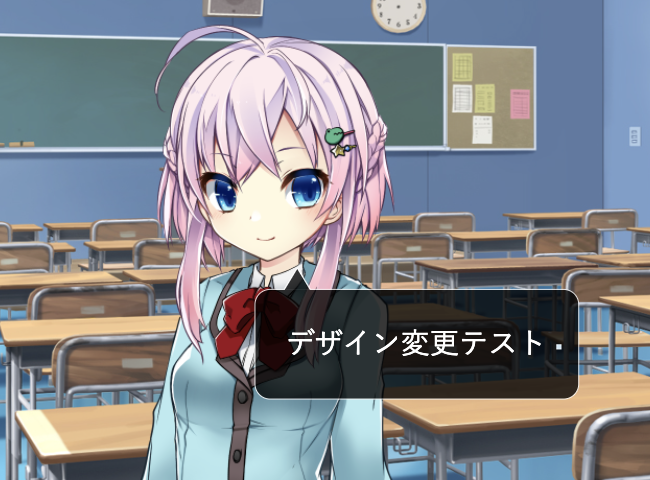
Custom design
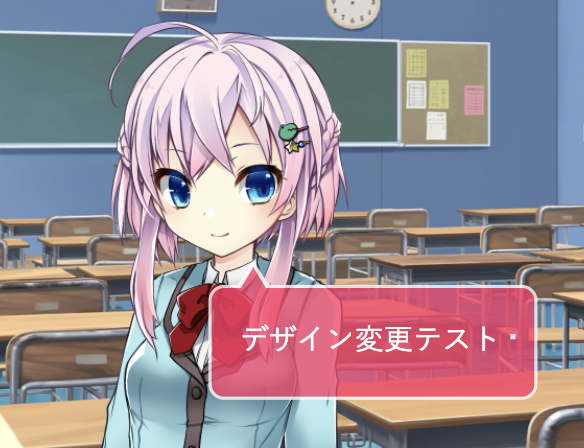
Another design variation
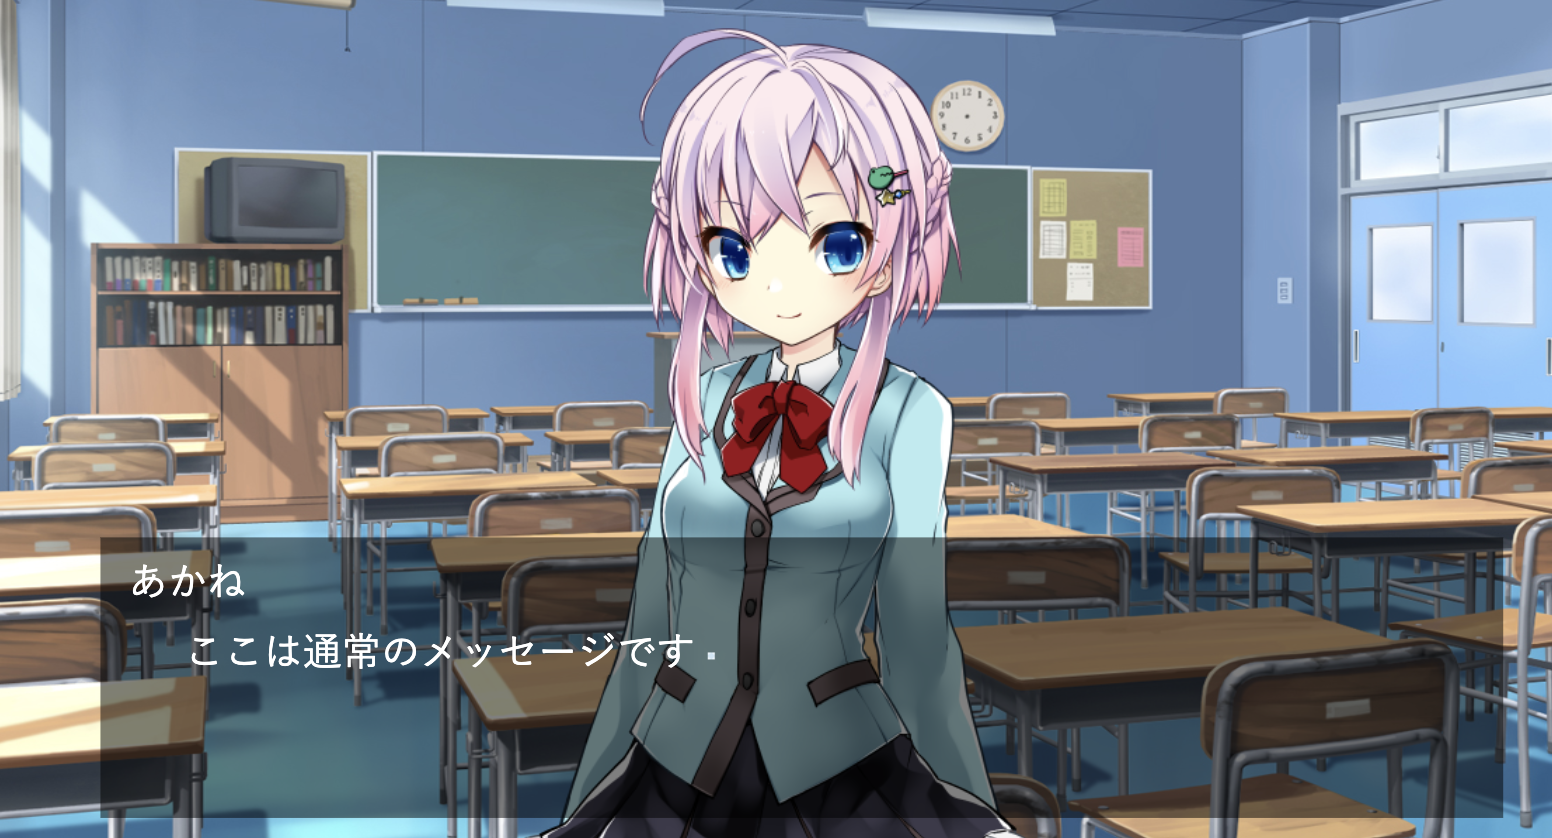
Ending the Speech Bubble Display
To end the speech bubble display, use the [fuki_stop] tag.
Since the message layer is still in bubble format, reset it using [position] tag.
Toggling Between Bubble and Regular Messages
If you frequently switch between bubble format and regular messages, it helps to separate the message layers.
For example, use message0 for regular messages and message1 for bubbles.
Here is a sample script:
With this method, you can flexibly alternate between standard and bubble messages.
You can also keep a message box at the bottom while progressing with bubbles above.
It’s recommended to convert these into macros for easier usage.
More
There are many other possible uses as well.
Please check the Tag Reference and script demos for more ideas.
>> Tag Reference
>> Speech Bubble Feature Demo
Support Sites
Contact Us
Email: shikemokumk@gmail.com
2016 © STRIKEWORKS All Rights Reserved.