CG Mode
*This feature requires "TyranoScript V400" or later.
TyranoScript comes with a ready-to-use CG Mode template.
The file `scenario/cg.ks` is the screen for CG Mode.
In other words, you simply need to jump to this scenario file from the title screen or similar.
Since this file is written entirely in TyranoScript, it's very easy to customize however you like.
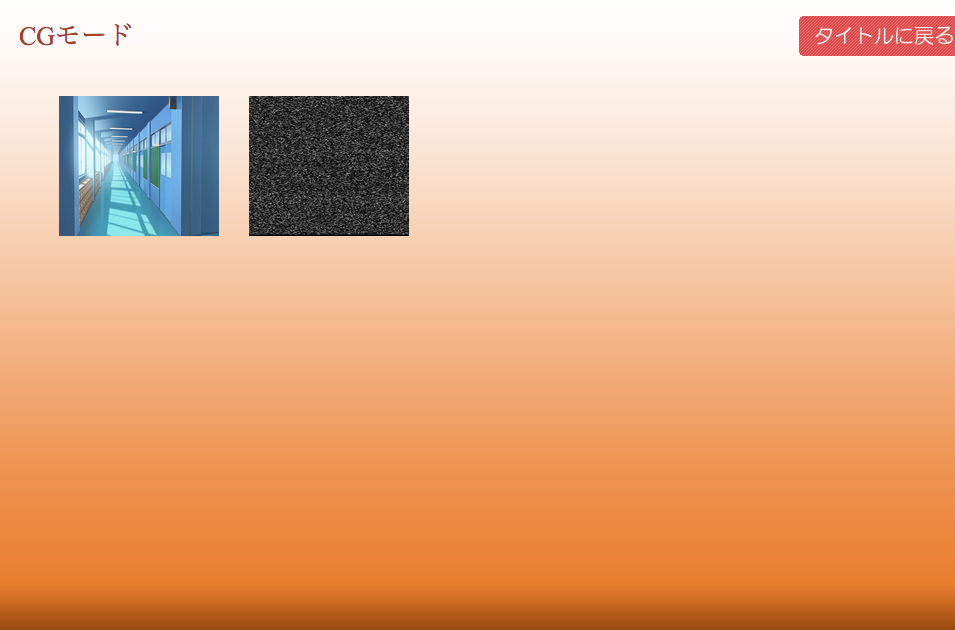
This is the initial screen of CG Mode. In the template, two CGs that haven't been unlocked yet are displayed.
Now, let’s go ahead and register an image in CG Mode.
To register a CG, you need to "unlock" the image at the moment it is displayed during gameplay.
To do this, use the [cg] tag.
Let’s try applying this to the default game. There’s a part where the scene changes to a hallway, so we’ll unlock the CG at that moment.

Open the section of `scene1.ks` where the script moves to the hallway.
#Yuko
Alright, let’s move to the next scene.[p]
Heading to the hallway now.[p]

[bg time="3000" method="crossfade" storage="rouka.jpg"]
[cg storage="rouka.jpg"]

#
Oh, we’re now in the hallway.[p]
Add the line `[cg storage="rouka.jpg"]`.
This marks that the player has now seen the file `rouka.jpg`.
Next, edit the cg.ks file.
Inside that file, you'll find a line like this:
[cg_image_button graphic="toile.jpg" no_graphic="noise.jpg" x=60 y=100 width=160 height=140 folder="bgimage"]
To link it with the CG we just unlocked, replace `graphic="toile.jpg"` with `graphic="rouka.jpg"`.
[cg_image_button graphic="rouka.jpg" no_graphic="noise.jpg" x=60 y=100 width=160 height=140 folder="bgimage"]
That’s it! You’ve successfully registered the image to CG Mode.
Restart the game, view the hallway scene, and check the CG Mode.
The CG has been unlocked!
You can click it to view it in full size.
Just repeat this process for each CG you want to include.
The `cg_image_button` tag is an extended version of the `button` tag, so you can freely customize how it’s displayed.
Here’s a quick breakdown of the `cg_image_button` parameters:
`graphic="toile.jpg"` (image unlocked via `[cg]` tag)
`no_graphic="noise.jpg"` (image shown when CG is locked)
`x=60` (X position)
`y=100` (Y position)
`width=160` (button width)
`height=140` (button height)
`folder="bgimage"` (folder where images are stored)
That’s all! Simple, right?
If the number of CGs increases, you can use pagination to register as many as you want.
You could even make separate CG Modes by character if needed.
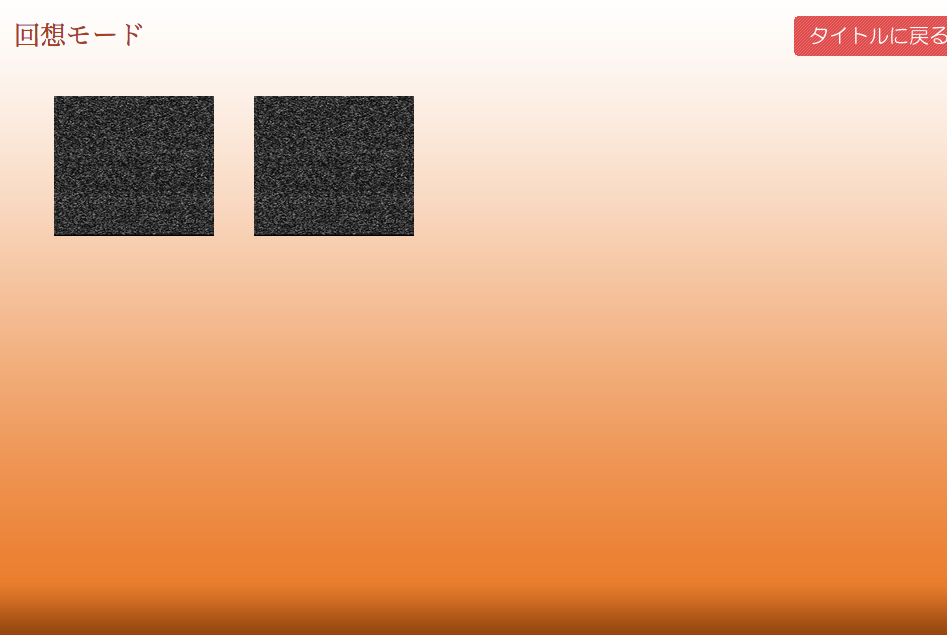
Replay Mode
Next, let’s set up Replay Mode.
It’s super simple as well.
The template for the replay screen is the scenario/replay.ks file.
This is a basic setup with two initially locked replays displayed.
Let’s go ahead and register a scene for replay.
The setup is easy—just wrap the section you want to mark as a replay scene with:
[setreplay] and [endreplay]
Let’s create a sample replay using the hallway scene.
[setreplay name="rouka_scene" storage="scene1.ks" target="rouka_scene_label"]

*rouka_scene_label


[if exp="tf.system.flag_replay==true"]

  [position layer="message0" left=20 top=400 width=920 height=200 page=fore visible=true]

  [position layer=message0 page=fore margint="45" marginl="50" marginr="70" marginb="60"]

  @layopt layer="message0" visible=true

[endif]


[bg storage="rouka.jpg"]


This is the hallway replay scene[p]

Still in the hallway replay scene[p]

Replay ends here[p]

[endreplay]
The `name` in `[setreplay name="rouka_scene" ...]` identifies the replay and is used for linking later.
You also need to set the scenario file name and label where the replay begins.
With this method, you can even unlock a replay from a completely different scenario file—great for bonus scenes!
Now, let’s return to the `replay.ks` file.
Each replay is represented by a button using the `[replay_image_button]` tag:
[replay_image_button name="rouka_scene" graphic="rouka.jpg" no_graphic="noise.jpg" x=60 y=100 width=160 height=140 folder="bgimage"]
Start the game and go through the hallway scene.
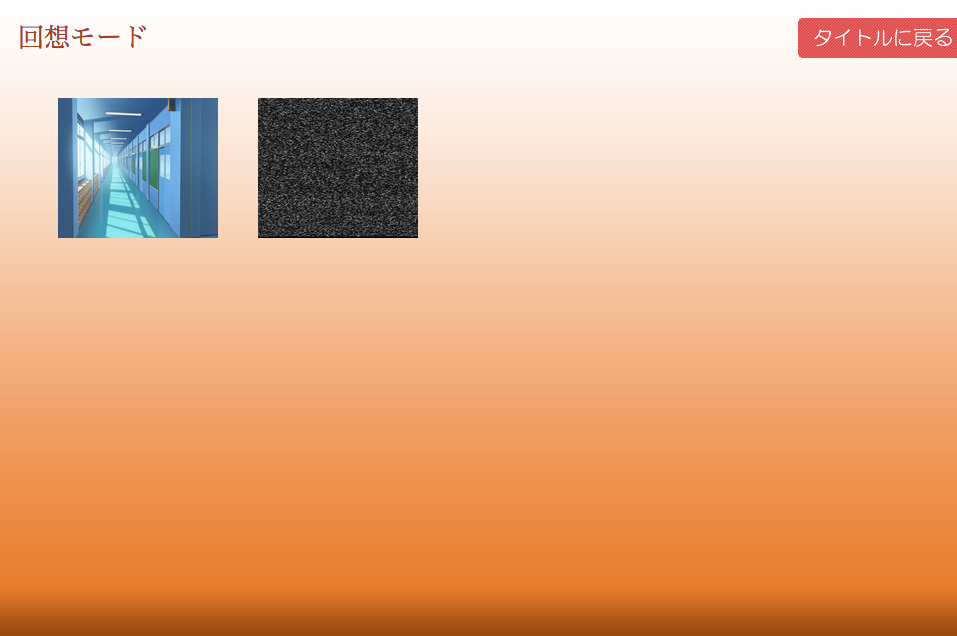
The replay has been unlocked!
Clicking it will start the replay.
One important part to note is:
[if exp="tf.system.flag_replay==true"]
This is useful for displaying the message box only during replay scenes.
Replay scenes jump directly to a label, skipping the message setup usually done at the start of the scenario.
So, when coming from Replay Mode, you need to manually reinitialize message display settings.
The same applies to character definitions—you might need to handle them conditionally or omit them during replays.
You can turn this logic into a macro to keep your scripts clean. However,
it’s often easier to treat replay scenes like separate scenario files, with all necessary setup self-contained.
Alternatively, you can prepare dedicated scenario files for replays using the `storage` and `label` attributes in `setreplay` (though this may require managing two versions of the same content).
That wraps up our guide to CG and Replay Modes.
Support Sites
Contact Us
Email: shikemokumk@gmail.com
2016 © STRIKEWORKS All Rights Reserved.